DIY Guide: How to Bleach a Hoodie?
Hey friend! Are you looking to add some flair to your wardrobe? Well, you’re in luck because I’ve got the perfect DIY project to spice up an old hoodie. Bleaching is a super simple way to give new life to a basic piece. I recently bleached one of my hoodies, and I’m obsessed with how it turned out. The color changed completely and it looks so unique now. I can’t wait to walk you through the process step-by-step so you can unleash your creativity!
Seeing How Fabric Reacts to Bleach

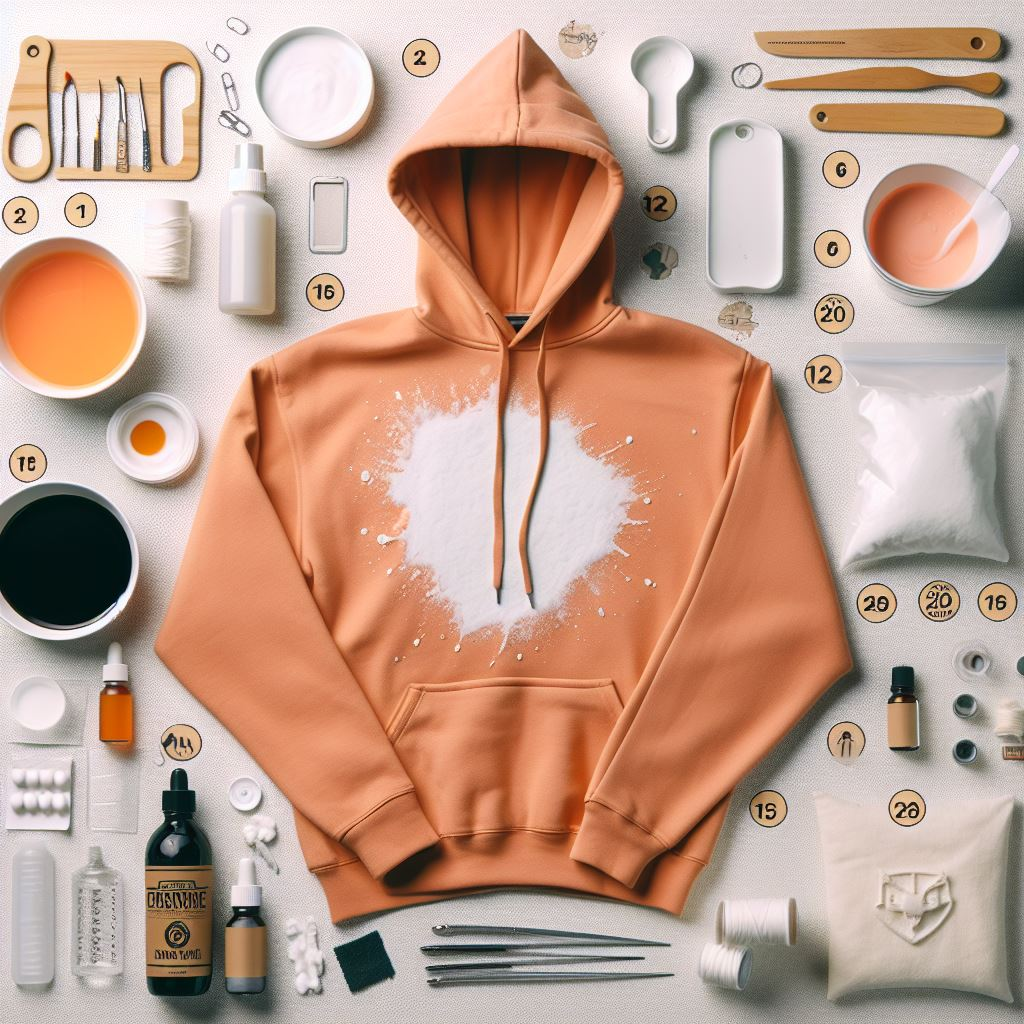
Now, before we get started, it’s really important to test out how the fabric will react. Not all materials bleach the same way. Take a small bit of the inside of your hoodie cuff and dab a tiny amount of bleach on it. That way you can get a sense of how the color will change without ruining the whole thing. For example, my black hoodie turned a super cool burnt orange color after bleaching. But I’ve seen some turn red, tan, or even a light blue if it started out darker. The great thing is, you never know exactly how it’ll turn out, which makes it exciting!
Protect Yourself and Your Surroundings
Since we’ll be working with some strong chemicals, safety first! Here are a few tips:
- Make sure you’re working in a well-ventilated area or even better – outside. Bleach fumes are no joke.
- Wear gloves and old clothes or an apron. Bleach can really damage clothing and skin, so you want a barrier.
- Work on a surface you don’t mind getting messed up, like concrete or an old table covered in newspaper.
Prep Your Hoodie for Bleaching
Start with a clean hoodie – no need to add detergent stains to the design! You can work with it dry or slightly damp. I’ve tried both ways. Dampening it a bit helps the bleach absorb more evenly. Up to you!
Next, think about how you want to prep your hoodie before bleaching. You could go the classic tie-dye route and scrunch it up with rubber bands into a spiral pattern. Or try something more abstract by twisting and tying different sections. Get creative and come up with a unique design!
Time to Apply the Bleach
Alright, now for the fun part. You’ve got options when it comes to actually applying the bleach. Here are some methods I’ve tried:
- Bucket Method: Mix 1 part bleach and 1 part water in a bucket, then dunk your hoodie in the solution for about 10 minutes. This gives great overall coverage.
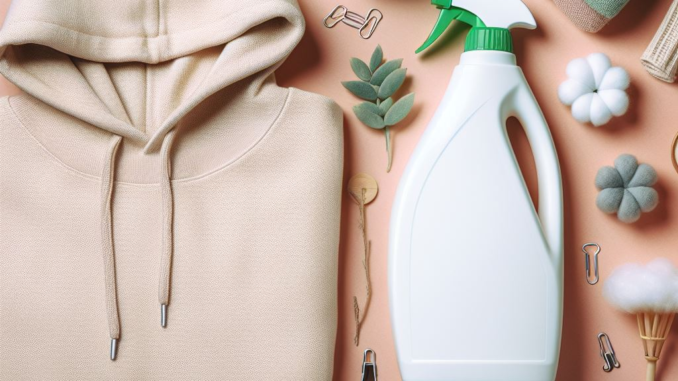
- Spray Bottle: Fill up a spray bottle with the same bleach/water mixture and use it to spray bleach just to certain sections. This gives a more uneven, spatter effect.
- Gel Toilet Cleaner: You can apply gel toilet bowl cleaner directly to damp hoodie sections and wrap it with plastic for a more controlled bleaching pattern.
Keep an eye on it as the bleach does its work, anywhere from 5-20 minutes. Check it periodically until you get the color change you want. I accidentally let mine go too long and got a few holes – oops!
Rinse and Wash That Puppy
When you’ve achieved your desired level of bleaching, it’s time to stop the process. Rinse it thoroughly under cold water. Then I’d recommend washing it separately in your machine to get rid of any leftover bleach residue. You don’t want that messing with your other clothes!
A Few Pro Tips
Here are some extra pointers from my trial and error:
- Watch the clock – it’s easy to overdo it with bleach. Too much, and you’ll weaken the fabric.
- Get creative! Try different application techniques for unique effects. Layering colors by bleaching in stages can look really cool, too.
- Safety first – bleach is no joke, so handle it with care, especially if you’ve got little ones running around.
Personalize Your Hoodie
The basic bleaching is fun, but you can make your hoodie even more your own with some extra touches. After bleaching, I cut slits in the sides of mine for a distressed look. You could also add patches or embroidery. Make it really personal, and rock your new masterpiece!
I don’t know about you, but I love how far a little bleach and creativity can go. It’s not every day you get to reinvent a basic hoodie and make it a conversation piece. So grab those supplies and let’s get crafting! Excited to see your bleached creation.
Adding Those Finishing Touches
Okay, so the basic bleaching turned out awesome on your hoodie. But we’re just getting started! Now it’s time to refine it by adding special details and flair. This is when you can really make it reflective of your personal style.
Patterns and Designs
If you want to take the bleaching up a notch, consider using stencils to create shapes or patterns. I tried some simple geometric shapes on my last hoodie, but get creative – you can do letters, animals, anything! If freehand is more your thing, use a small brush to add bleach precisely for a detailed effect.
Reintroducing Color
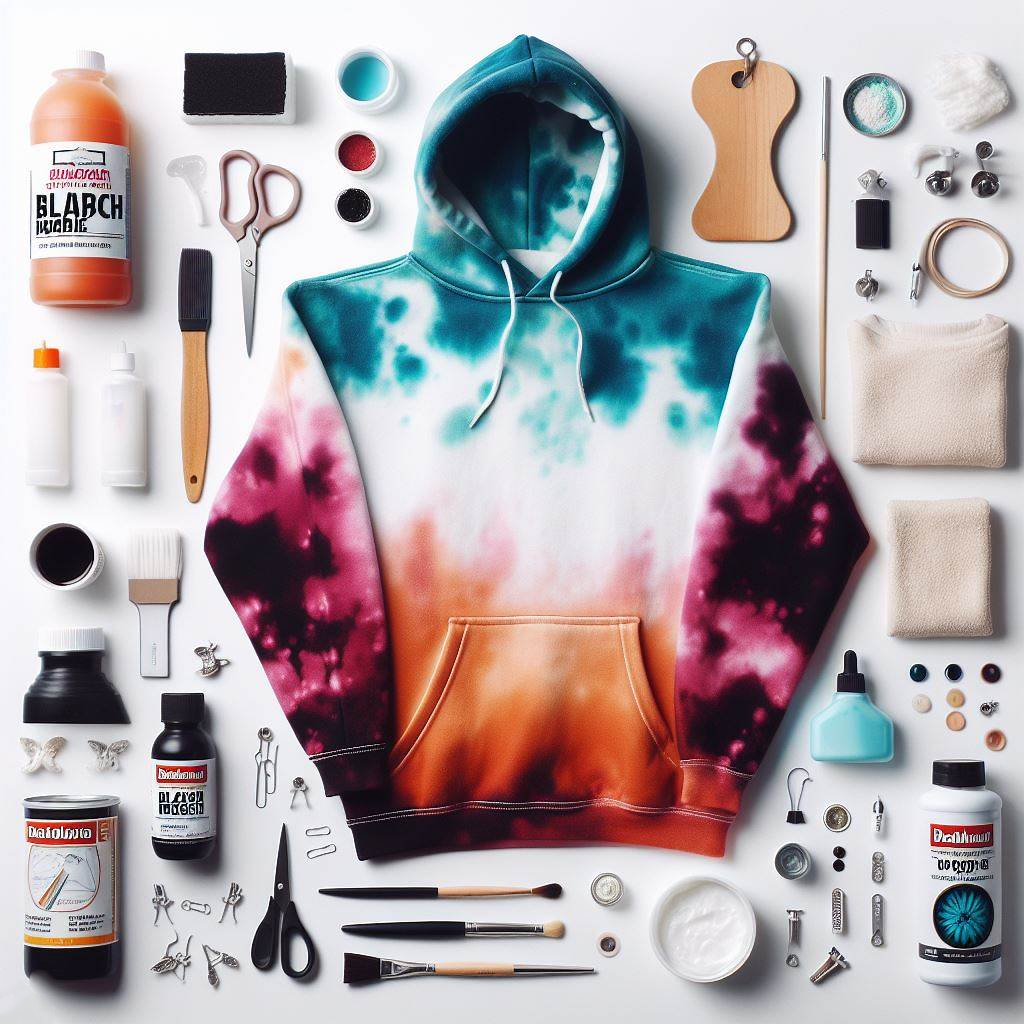
While I love the faded, bleached-out look, bringing back some color can look really cool, too. You could tie-dye over the bleached sections with bright fabric dye for an ombre effect. Or go the natural route – tea or coffee dyes give a vintage vibe. Dip dyeing the edges or painting on designs both work great.
Textures, Embellishments, and More
For some added depth, try sewing, patchworking, or embroidering over the bleached parts. Mixing in different fabrics, lace, beads – anything goes! I once did a bleached hoodie with crocheted flowers; it gave such a fun, artsy look.
Caring for Your Creation
Alright, some laundry tips so your amazing design holds up wash after wash:
- Wash separately at first in case of excess bleach.
- Always opt for cold water and gentle detergent to protect the colors and fabrics.
- Air drying is best! Direct sunlight can fade designs over time.
Rocking Your New Hoodie
The options are endless when it comes to styling a unique piece like your bleached hoodie. Throw it on with jeans for a casual weekend look. Layer it over dresses or skirts for an edgy, modern vibe. However you wear it, you’ll stand out from the crowd. Plus, it always makes a great conversation starter about how you made it!
Get Creative and Make it Yours!

I hope you’re feeling inspired to create your own bleached hoodie masterpiece! The whole process – from prepping to bleaching to refining – is so much fun and lets your personality shine through. The final product will be amazing but don’t forget to enjoy yourself along the way. Once you’ve made your first bleached hoodie, you’ll find yourself looking at all your clothes wondering what else you can transform.
For more ideas, look online at DIY and upcycling communities. There are so many cool techniques to try out there! I can’t wait to see what amazing designs you come up with. Tag me when you make your next bleached creation – I love seeing unique styles in action. Happy bleaching!


Leave a Reply