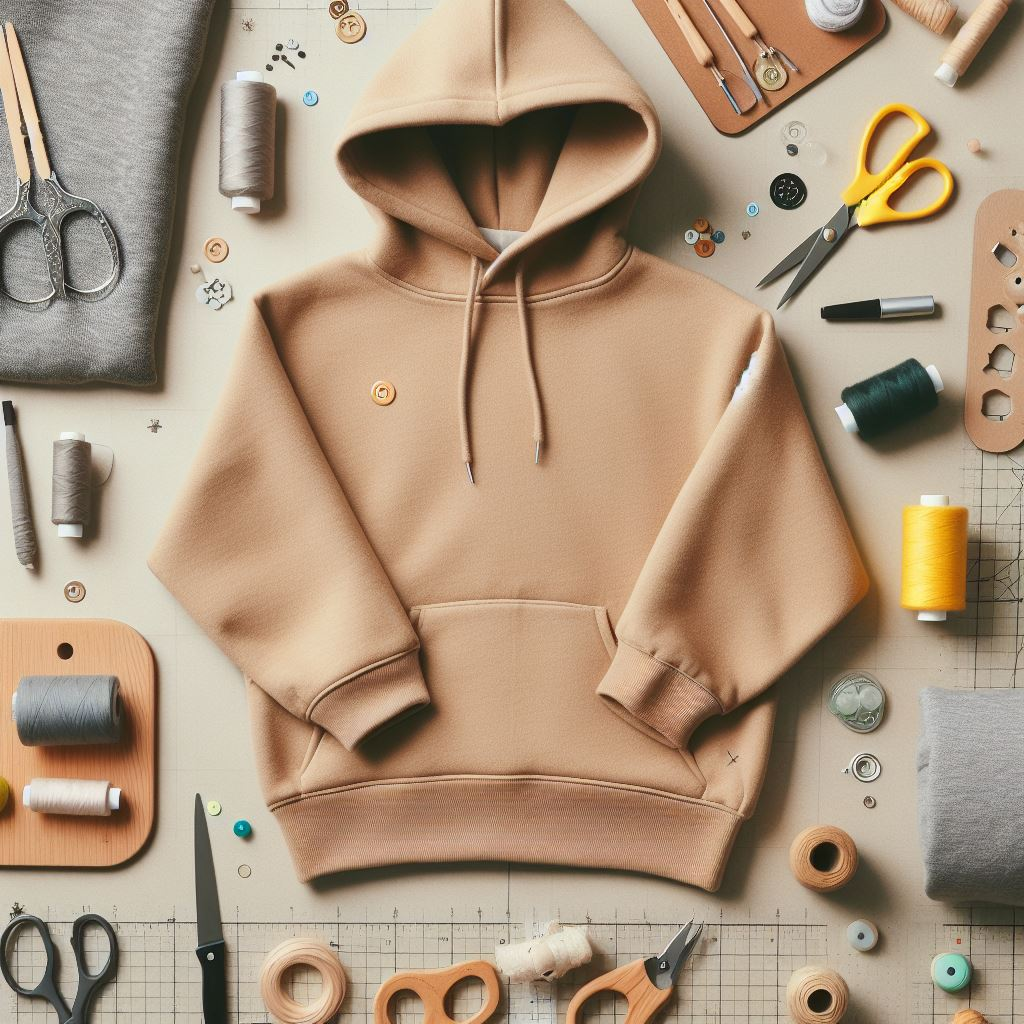
Crafting Cozy Comfort: How to Make Your Own Custom Hoodie
Is there anything better than wrapping yourself in a cozy, comfy hoodie? I don’t think so. There’s just something about the soft fabric, the relaxed fit, and the ability to bundle up in your own personal cocoon. Well, what if I told you that you could take that feeling up a notch by making your very own custom hoodie? I’m talking about a hoodie made just for you, by you. Intrigued? Then, let’s get started on this DIY journey together!
Hoodie 101: Getting to Know the Basic Components

Before we begin, let’s make sure we understand what makes a hoodie a hoodie. A typical hoodie is made up of the following elements:
- The main body and sleeves
- The hood (obviously!)
- Usually, a front pouch pocket
- Ribbed cuffs and waistband
The materials you choose and the design details you add will determine the style, fit, and feel of your custom hoodie. It’s good to have a vision in mind before starting, but don’t worry – we’ll walk through everything step-by-step. The best part of DIY is that you get to unleash your creativity!
“Fabric-ing” Your Hoodie: Choose Your Material

The first big decision is choosing the right fabric. This will affect the comfort, warmth, and look of your hoodie. Popular options include:
- Fleece: Soft, fuzzy, and warm. Available in light to heavy weights.
- Jersey: Smoother than fleece with a nice drape. Typically, a cotton/polyester blend.
- Wool: Natural material that’s warm yet breathable. Often used for winter hoodies.
- Cotton blends: Lighter fabrics are good for warmer climates. It can have a soft, worn-in feel.
Think about when and where you’ll wear your hoodie most. Do you need extra warmth or prefer something lighter? Pick a fabric that will work for your lifestyle.
Gear Up: Assembling Your DIY Tool Kit
With fabric in hand, it’s time to gather supplies. Having the right tools makes any DIY project smoother. Here’s what you’ll need in your sewing toolbox:
- Sewing machine – A basic model is perfect for hoodies. Don’t be intimidated; you got this!
- Thread – Match thread color to fabric.
- Fabric scissors – Treat them nicely so they always cut smoothly.
- Pins – Essential for placing and securing pattern pieces.
- Iron and ironing board – Press seams flat and remove wrinkles.
- Measuring tape – Crucial for custom fit. Measure twice, cut once!
- Hand-sewing needle – For finishing touches where the machine can’t reach.
Gather all your gear in one place so it’s handy when needed. Add any other notions that speak to you – colorful buttons, custom patches, stencils for a spray-paint design. The options are endless!
Step-By-Step: Constructing Your Custom Creation
Now for the fun part – let’s get crafting! Follow these key steps as you bring your hoodie vision to life:
Step 1: Prep the Fabric Like a Pro
First things first – pre-wash and dry your fabric according to care label directions. This pre-shrinks it, preventing surprises if your hoodie shrinks later. Once dry, give it a good iron to smooth out any wrinkles or folds. A crisp, flat surface makes cutting and sewing much easier.
“Always pre-wash fabric! Even if it seems pre-shrunk, you never know what might happen down the line. Better safe than sorry for a comfy long-lasting hoodie.”
Step 2: Cut Out Your Pieces with Precision
Now it’s time to create your custom hoodie pattern pieces. You can either use a pre-made pattern, create your own template, or follow an online tutorial. Carefully pin the paper pattern pieces to your fabric, ensuring the print or grain is properly aligned. Use your sharpest fabric scissors (and a steady hand!) to cut out each part.
“Accuracy matters when cutting! Take it slow and double check measurements. Remember, you can always trim more off later if needed.”
Step 3: Stitch Together a Cozy Masterpiece
Moving on to the best part – bring your hoodie to life on the sewing machine! First, pin the front and back pieces together at the shoulders. Sew the shoulder seams, then attach the sleeves and matching sleeve seam notches to the shoulders. Insert the zipper or buttons if adding either. Before you know it, you’ll have a wearable hoodie taking shape!
“Don’t be afraid to use pins liberally to hold pieces in place – it makes sewing so much easier and more accurate!”
Step 4: Finish It Off with Flair

Almost there! Add waistband and cuffs for structure and style. Sew on any design details or labels you created. Try it on and admire your handiwork. Make any fit adjustments, then wear with pride. You did it – your custom comfort hoodie is complete!
Now go forth and get cozy, you stylish maker! Blanket up by the fire, sip some hot cocoa, and relax in your one-of-a-kind creation. Don’t be surprised if friends and family soon start requesting custom hoodies, too. Just call yourself the Comfort Hoodie Creator!


Leave a Reply