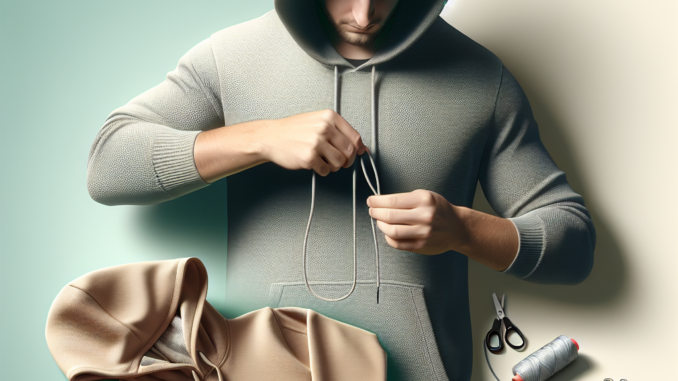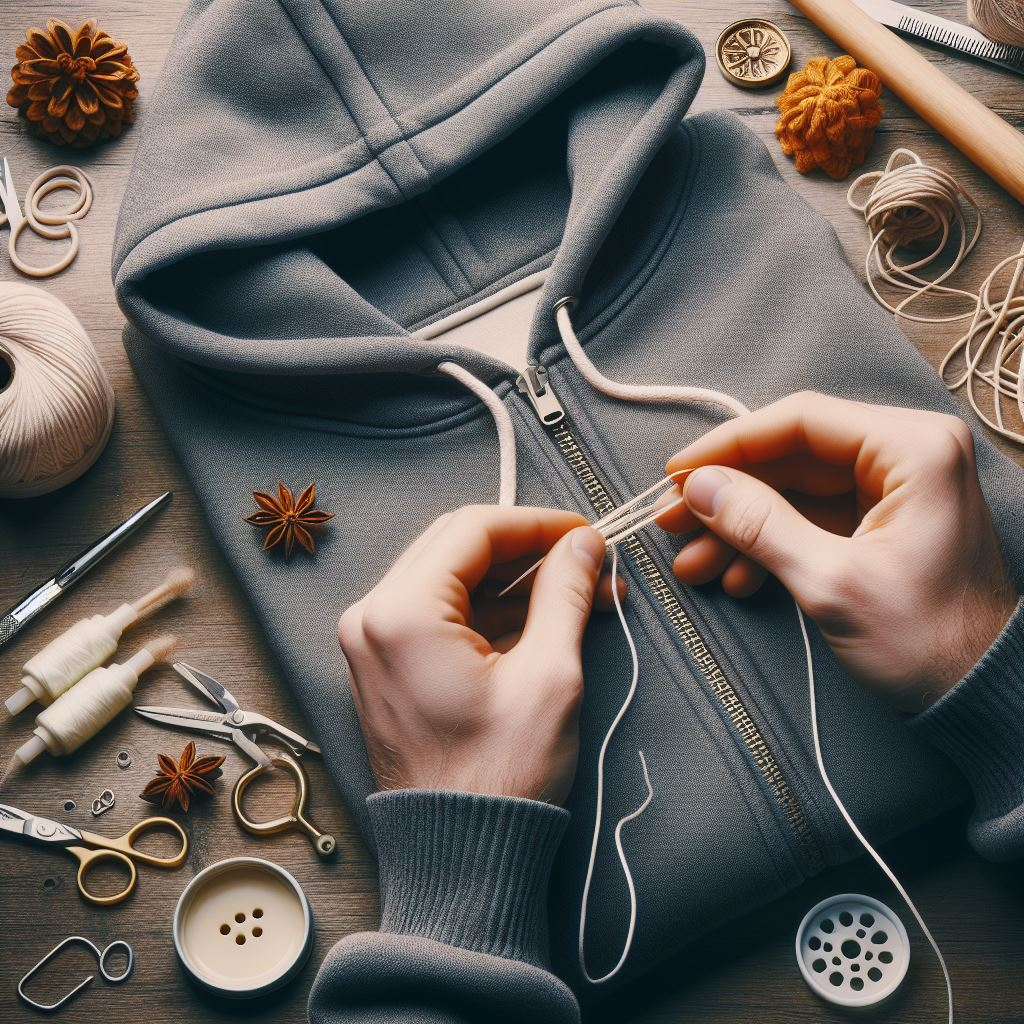
How to put the string back in a hoodie? A Step-by-Step Guide
We’ve all been there – excited to slip on your favorite hoodie only to realize the drawstrings are missing. Ugh, talk about a bummer! But before you toss that stringless hoodie in the donate pile, listen up. I’m here to show you that reviving a rogue drawstring situation is totally doable with some simple tricks. By the end of this guide, you’ll be a pro at restringing hoodies to restore their cozy comfort.
Now, I know a missing drawstring can feel annoying AF. You’ve got this perfectly good hoodie that suddenly can’t perform its most basic function. The hood hangs there limply instead of cinching up around your head like it should. Not ideal!
But don’t stress, my friend. With a couple of household items and a bit of patience, you can get that hoodie back in working order. Grab yourself a cup of coffee (you got this!), and let’s get into the nitty-gritty of DIY drawstring replacement.
Gearing Up: What You’ll Need

The best part about restringing a hoodie is that you likely have everything you need already at home. It’s a simple and budget-friendly fix! All you’ll need is:
- A drinking straw (yep, just a regular old straw!)
- A stapler (doesn’t need to be fancy)
- Your drawstring-less hoodie
- The rogue drawstring (if you managed to rescue it from the depths of your laundry room)
That’s it! Four common household items are your ticket to drawstring redemption.
Pro Tip: Substitutions
Don’t have a straw or stapler on hand? No worries, we’ve got you covered. Here are some handy substitutions:
- Instead of a straw – Use a butter knife, skewer, bobby pin, or safety pin.
- Instead of a stapler – Use a piece of tape or temporary adhesive.
The key is finding something skinny, rigid, and pointy to guide the drawstring through the hoodie’s casing. Get creative with what you’ve got!
Let’s Do This: Step-By-Step Drawstring Replacement

Now that you’ve assembled your supplies let’s get into the good stuff – actually restringing this bad boy! I’ll walk you through the process step-by-step:
- Prep the drawstring: Take your drawstring and insert one end into the straw, roughly an inch or so. You want enough sticking out to staple it in place.
- Secure the drawstring: Use your stapler to attach the drawstring end to the straw. This prevents it from slipping back through while you thread it.
- Time to thread: Insert the straw into one side of the hoodie’s casing. Carefully push it through the fabric, guiding the drawstring along for the ride.
- Almost there: Keep gently threading until the straw and drawstring emerge from the other side.
- Remove tools: Once it’s pulled through fully, remove the straw and staple. You did it!
- Perfect the length: Adjust the drawstring on both sides to ensure it’s even. Admire your handiwork and give yourself a pat on the back!
See, that wasn’t so painful, was it? With a few simple steps, you’ve successfully brought your fave hoodie back from drawstring purgatory.
“But why the straw method?”
Excellent question, curious friend! Let me break down why a straw works so dang well for this project:
- It’s slim and rigid – This makes it easier to feed through the hoodie’s casing without getting caught on the fabric.
- The stiffness guides the drawstring – The straw prevents the string from bunching up and slipping back through.
- It’s a common household item – No need to make a special purchase, use what you already have at home.
Plus, the straw and stapler combo is cheaper and lower-effort than sewing a new channel or taking it to a tailor. It’s accessible DIY at its finest!
Alternative Methods to Try
I’m all about options, so let’s chat about some other techniques you can test out if the straw trick isn’t working for you:
Safety Pin Approach
The trusty safety pin is another great restringing tool. Here’s how to do it:
- Attach a large safety pin securely to one end of the drawstring.
- Use the safety pinpoint to thread through the hoodie’s eyelets or casing.
- Gently pull through until the drawstring emerges on the other side.
- Remove the pin, adjust the length, and celebrate!
This takes a bit more time than the straw method but gets the job done with stuff you likely have on hand. Solid backup right here!
Try a Bobby Pin
For a particularly narrow casing, a bobby pin may do the trick. Insert it through the hoodie’s eyelet or gap in the casing and use the tip to guide the drawstring through. Voila, you just MacGyver’ed that baby back to life!
When All Else Fails: Take It to a Tailor
If you’re totally stumped on bringing your hoodie back from the drawstring dead, don’t fret. As a last resort, swing by your local tailor or fabric shop. They can sew a new channel and string back through for you, good as new!
Sure, it might cost you a couple of bucks. But it beats relegating that hoodie to the donation pile before it’s time. Choose this route for a reliable fix when you’re feeling frustrated.
Preventing Future Drawstring Disasters
They say that an ounce of prevention is worth a pound of cure. Now that you’ve successfully replaced your hoodie’s drawstring let’s chat about some tips to keep it locked in place for the long haul:
Secure Those Ends
Tie a simple knot at the end of each drawstring to keep them from sliding back out. I like to loop mine twice and then knot – it really locks that sucker down! You can trim off any excess after knotting so it lies flat.
Wash With Care
When it’s laundry day, either tie the two drawstrings together or place your hoodie in a mesh bag. This prevents the strings from catching on other items and unraveling during the wash cycle.
Inspect Frequently
Make a habit of checking drawstrings regularly for signs of wear, tear, or loosening. It takes two seconds to do a visual once-over. Promptly fix any issues you spot – a few quick stitches can prevent full-on failure down the line!
Staying on top of maintenance helps your hoodie last season after season. Doesn’t nobody have time for pre-mature string loss?
Closing Thoughts on Conquering the Drawstring

Phew, we covered a lot of ground here! But I hope this drawstring replacement guide gave you the key facts and steps to revive your favorite hoodie.
Just remember – patience and the right tools are your best friends for this project. Use a methodical approach, take your time, and that sucker will be good as new in no time.
Hoodies are too cozy and nostalgic to lose due to a lack of drawstring care. So utilize these tips and keep on rockin’ that personal fave stress-free!
Until the next DIY challenge, take care, and happy string wrangling out there!


Leave a Reply