How to Sew a Hoodie? A Step-by-Step Guide
Hey friends! Are you looking to make your very own cozy hoodie from scratch? Well, you’ve come to the right place. I’m here to walk you through the entire process, from choosing a pattern to sewing on those final touches. Even if you’ve never touched a sewing machine before, don’t sweat it – we’ll tackle this project together, step-by-step.
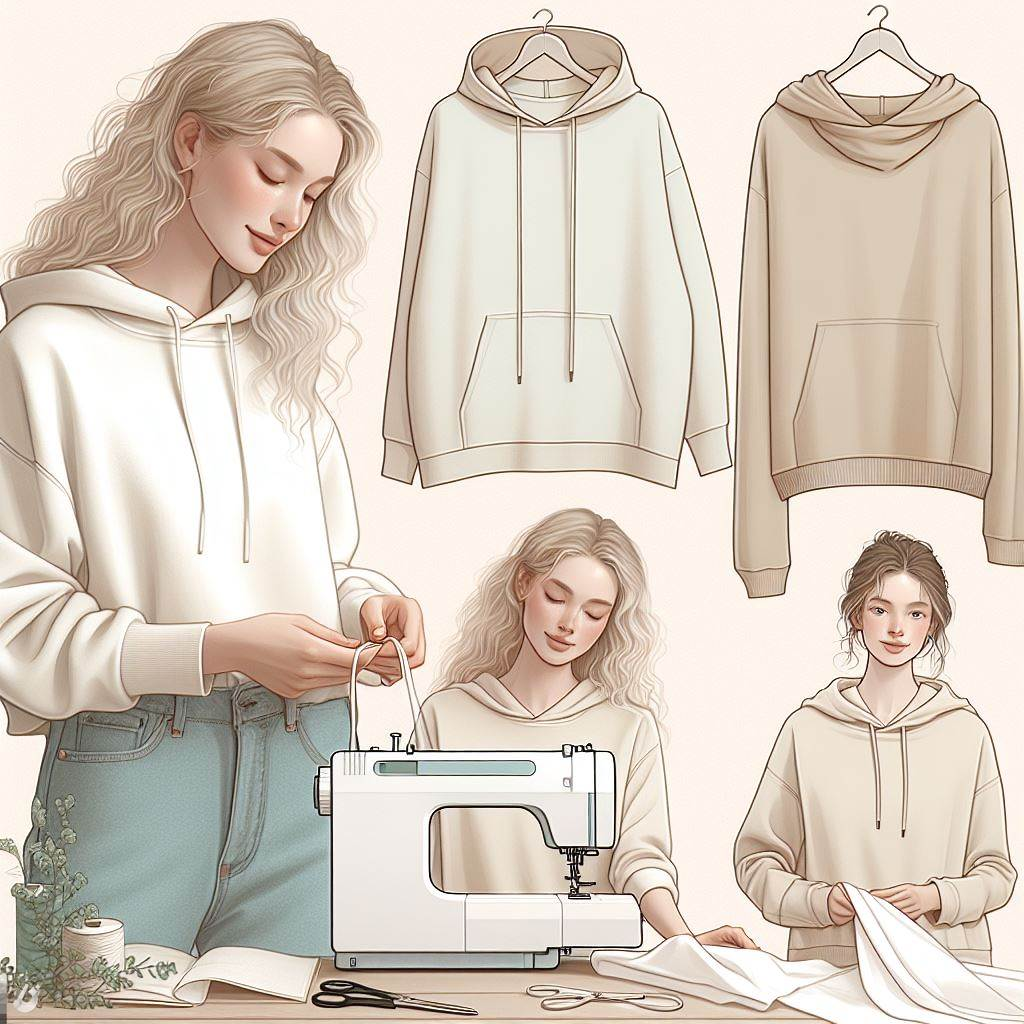
First things first: grab yourself a cup of tea, settle into your crafting corner, and let’s chat about patterns and fabrics. The pattern you choose will be the blueprint for your hoodie, so you’ll want one that’s beginner-friendly. I highly recommend the Sol Hoodie pattern from Bluprint. It includes all the classic hoodie elements but is simple enough for even a total newbie. When it comes to fabric, you can’t go wrong with a medium-weight sweatshirt fleece – it has just the right amount of structure and stretch. Grab some cozy fleece in your favorite color or print. Now, we’re ready to start cutting and sewing!
Cutting Out the Pattern Pieces
Print out the pattern pieces for your size. Don’t be intimidated by all the unfamiliar pattern markings – I’ll walk you through what each of them means. Using sharp fabric scissors, carefully cut out each piece. Pro tip: pin the pattern pieces to your fabric and cut around them with a 1/2-inch seam allowance. This helps ensure your pieces are perfectly cut for sewing. Set the cut fabric pieces aside in organized piles so they’re ready to go.
Sewing the Basic Construction

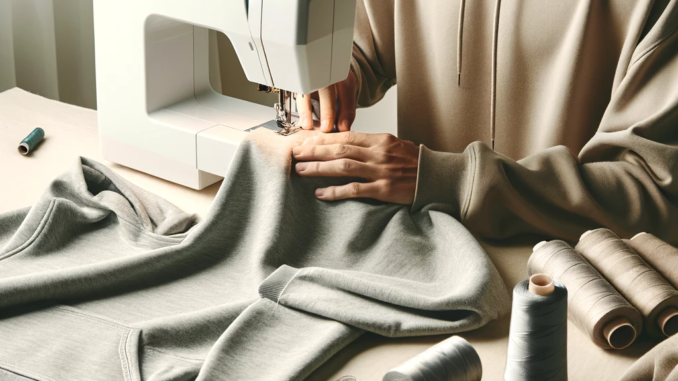
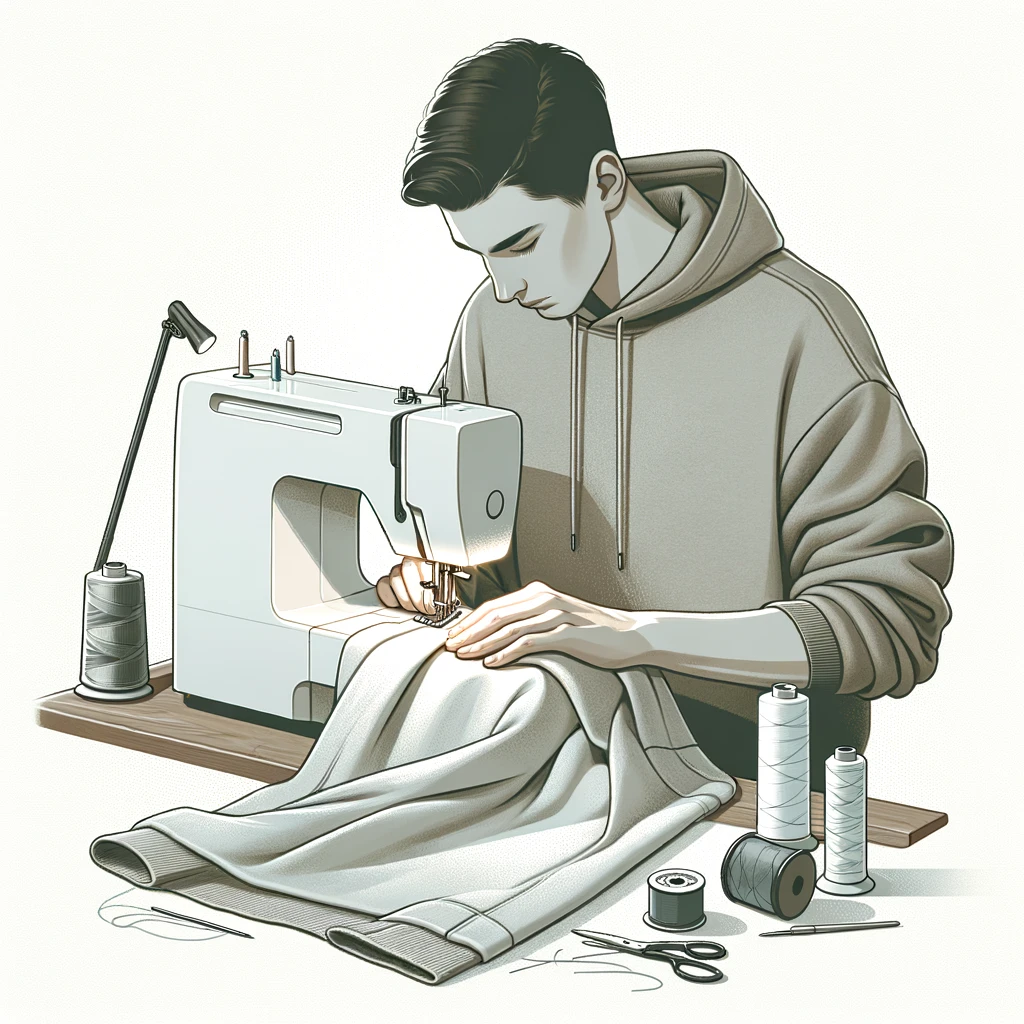
Alright, it’s finally time to break out the sewing machine! I like to start with the shoulder seams since they shape the overall silhouette. Pin the front and back pieces together at the shoulders, with the right sides facing in. Sew along the seam line, then press the seam allowances to open. Boom – the hoodie is starting to take form!
Moving on to the sleeves, pin them to the arm openings, matching the notches and right sides together as before. Use plenty of pins so the pieces don’t shift around. Sew the sleeves in place, press the seam allowances towards the sleeve, and check on how the fit is looking. Make any adjustments needed.
Now for the side seams! Pin the front to the back from the hem up to the arm openings. Sew both side seams and press them open. Almost done with the basic construction. All that’s left are the cuffs and hem.
Sewing the Finishing Touches
Fold and sew the cuffs into a loop shape, press, then pin and sew them to the sleeve hems. For the bottom hem, fold it under 1⁄2 inch, press, and topstitch all the way around. Phew, the hoodie is really coming together now! Just a few more steps.
For the front band, sew the ends of one long strip on the right sides together to make a loop. Press the seams open. Pin the loop to the front edge, matching the shoulder seams and side edges. Then, just sew the band in place, and you’ve got a completed neck opening. Make sure to check the length – you want just enough room to slip the hoodie over your head!
If you want a hoodie with a zipper like me, the steps are pretty similar. You just have to sew the zipper tape to the front band pieces before attaching it to the neck opening. I like to sandwich the zipper between the band and the right sides together. Use a zipper foot and take it slow. Viola – you have a hoodie that zips up like store-bought!
Attaching the Hood

We’re on the home stretch now! For the hood, start by sewing the two curved edges together, with the right sides facing in as usual. Press the seams open and topstitch for extra reinforcement.
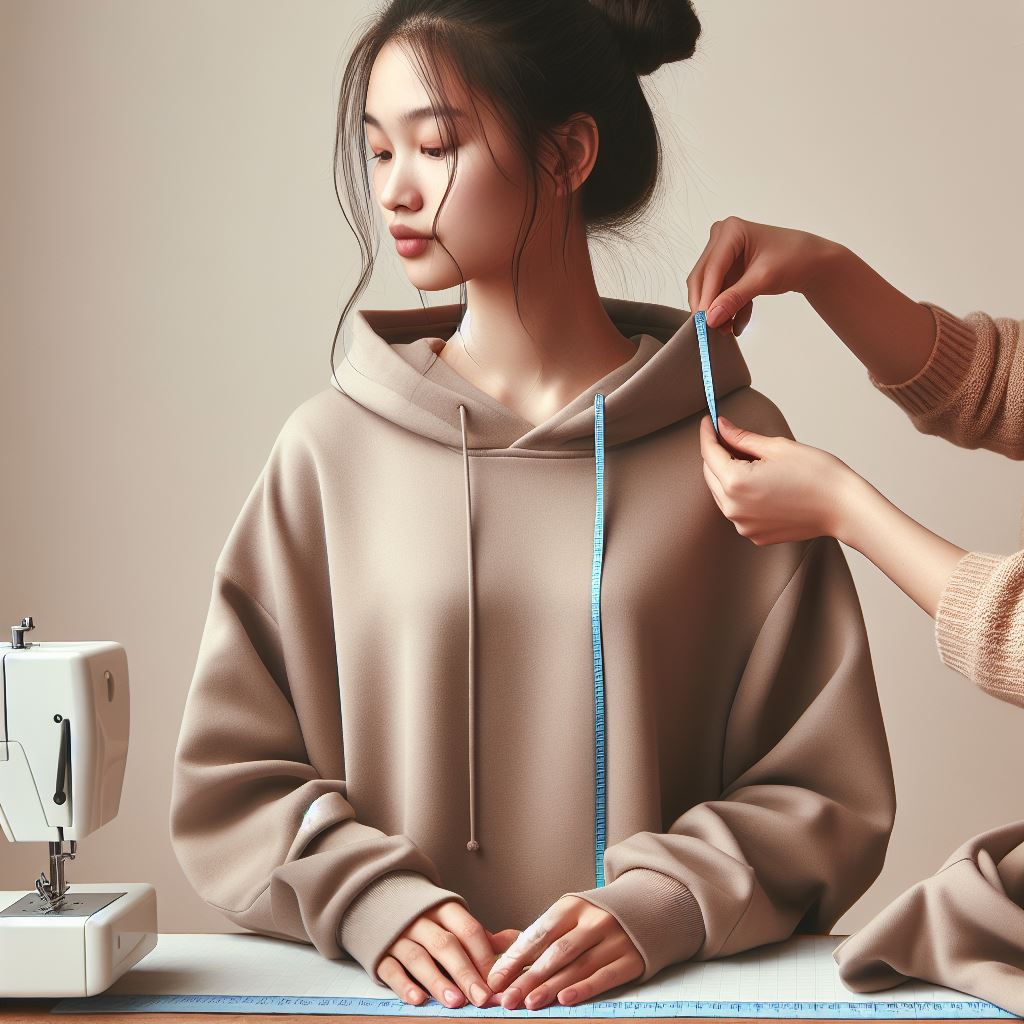
Next up is attaching the hood. Pin it to the neckline, matching the shoulder seams and taking care not to catch the zipper. Stitch all around and try the hoodie on to make sure it sits nicely on your head. Make any fitting adjustments to the width or length that you need to.
Don’t forget to add the drawstring through the casing along the hood edge. Use a safety pin to thread it through the tunnel. Knot the ends securely and you’re all set!
Personalizing Your Hoodie

Half the fun of DIY projects is customizing them to your own unique style. Here are some ways to make your hoodie truly one-of-a-kind:
- Add colorful banding along the wrists, hem, or hood edge for a pop of contrast.
- Sew on fun patches or appliques that show off your personality.
- Embroider your name, initials, or a cheeky phrase on the front pocket or sleeve.
- Get creative mixing prints, textures, and fabrics like French terry or sherpa fleece.
The possibilities are endless when you make it yourself. Let your imagination run wild and have fun with the process. You deserve to feel cute and cozy in a hoodie you designed!
Troubleshooting Common Sewing Problems

I want to wrap up with some troubleshooting tips in case you hit any snags. Sewing problems pop up all the time, so don’t feel discouraged!
- If your machine skips stitches, switch to a ballpoint needle and polyester thread. This combo handles stretchy fabrics like fleece much better.
- Are you having issues with seams puckering? Loosen the thread tension slightly and use a zigzag stitch instead of a straight stitch.
- To flatten bulky shoulder or neckline seams, try topstitching or grading the seam allowances.
The key is being patient, making adjustments, and not giving up! You’ve got this. Wearing your custom handmade hoodie will make all those sewing snafus so worth it. I can’t wait to see your cozy hoodie creation!


Leave a Reply